Importing
DocSTAR allows you to import documents of various types
through several different methods.
Through importing, DocSTAR lets you capture documents from:
• Digital copiers and multifunction devices.
• Scanners that are not directly driven by DocSTAR software.
• Other imaging systems.
• Fax servers.
• Websites and other sources of PDF files.
• Windows® applications.
• Report files from management information systems.
Several different ways to import files are described here.
From within the DocSTAR program
Drag & Drop
Auto Import
MS Office Integration
(Click on any of the above
bookmarks to jump to that section of this page)
From Within The DocSTAR Program
The Import Files command is available from the DocSTAR menu
of DocSTAR’s main screen.
It allows any DocSTAR user to import one or more files on demand.
For instance, you may receive a TIFF file or PDF file as an attachment in an
email.
You can save it to your desktop and use this method to import it into DocSTAR.
Choosing Import Files opens this window.
You may select one or more files of almost any type from
anywhere on your PC or network.
After you’ve selected files, click Open.
If all file types are supported by DocSTAR, then the Import Files dialog
appears.
(See Unsupported Files, below.)
The names and types of the files you’ve selected appear in
a list.
NOTE that DocSTAR detects the type of each file, and “image only” PDF’s are
distinguished from “non-image” PDF’s.
This is because different templates are applied to each. (Image or Native)
You may select files one at a time, in groups, or all at
once.
The following options will apply to your selection when you click Import.
Title
You may set a document’s title if only one document is selected. Otherwise, each
document’s title will be derived from its file name.
Keywords
Sets keywords for all selected documents.
Security Classification
Sets security class for all selected documents.
Image Template
Selects the template for any image files (including image PDFs) among the
selected files. Has no effect on native documents or other PDFs.
Native Template
Selects the template for any selected non-image PDFs and native file types.
Folder
Optionally, places imported documents into the folder you specify.
Inbox
Selects the Inbox to which documents will be imported. This may be the default
Inbox or a specific Inbox created through the Administrators’ program.
Filing Options
Imported documents always go into the specified Inbox, but selecting “File
Manually” or “File Automatically” launches the respective filing process as soon
as the Import Files dialog closes.
When you’ve imported all of the files, the dialog closes.
Until then, it stays open showing any files that remain to be imported.
If you click Close, the remaining files are not imported.
Unsupported Files
There are some file types that DocSTAR cannot import. Others may be disabled by your system administrator. Attempting to import any such files will result in a message as shown in Figure 2-Error! Bookmark not defined..
You have the option of emailing a report of unsupported
files to DocSTAR,
and we may be able to add support for these files to a future version.
File types disabled by your system administrator cannot be reported via
email—you’ll have to take that up with the system administrator yourself.
.. Note: if files are reported as Unlicensed, it means that your system does not have the Native Files module.
Files can also be imported at any workstation on which
DocSTAR is installed simply by dropping them
on the DocSTAR program icon on the Windows Desktop.
This can be done whether or not the DocSTAR application is currently running.
First, open the folder containing the desired file(s).
Position the folder on your desktop it so that you can see the DocSTAR icon.
Select one or more files and drag them onto the DocSTAR icon and release the
mouse button.
The Import Files dialog appears, just as though you had gone through the DocSTAR->Import
Files menu item and selected them.
Note that drag-and-drop importing is not possible during autofiling, scanning, and other intensive DocSTAR client processes.
Auto import automatically imports files as they are placed in
any one of the designated "import directories" on your network.
This is handy when scanning with a multifunction product (MFP) or digital
copier.
The device is configured to save files to one of DocSTAR’s import directories.
Any documents scanned automatically appear in a DocSTAR Inbox within a couple of
minutes.
There are two different auto import mechanisms in DocSTAR.
The more fully featured one runs within the DocSTAR Client Service, and it is
configured through the Client Settings.
There is also an auto import function within the Host Service, which is
configured through the DocSTAR Admin program,
and it is described in the DocSTAR Administrator’s Guide.
Microsoft Office Integration (Office 2003 & Office 2007)
Installation of DocSTAR 3ten can automatically add a special
toolbar to three popular Microsoft Office applications: Outlook®, Word, and
Excel.
It contains a single button, which is used to immediately file the current
document (or message) in DocSTAR.
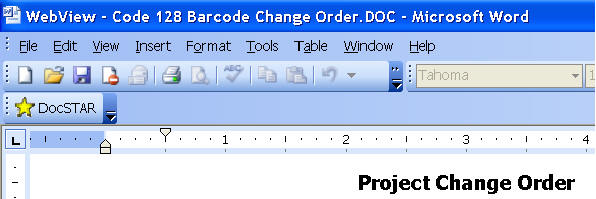
Office Integration (Office 2003)
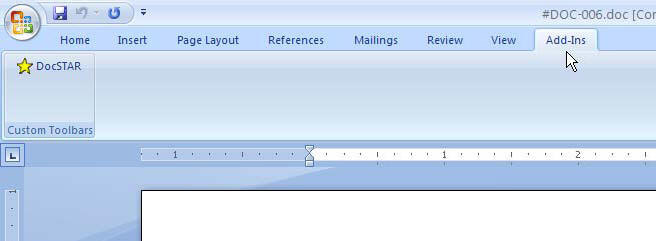
Office Integration (Office 2007)
If any edits had been made to the document since the last
time it was saved, you will be prompted to save them when you click this button.
You must save any changes before importing the document.
Then, if the DocSTAR program is running and is idle (at the
Main Window) the usual Import Files Window is displayed.
If DocSTAR is not running, it is automatically launched and then the Import
Files Window is displayed.
Note: if docSTAR is running, but is not idle, the Import File Window will not be displayed until all other DocSTAR windows are closed.
You may choose to file the document immediately using Manual or Automatic mode, or you can leave it in an Inbox to file later.
As with all native files, documents imported from these Office applications
are displayed automatically within DocSTAR.
However, it may be necessary to open the document in the native Office
application for full functionality.
For instance, an Excel worksheet with multiple sheets or an email message with
attachments would need to be opened in Excel or Outlook, respectively,
to see the additional sheets or the attachments.
©
Copyright
DOCS Imaging LLC
2009. All rights reserved.
Last Update -
Monday June 21, 2010